//Skip to content
Generic selectors
Exact matches only
Search in title
Search in content
Post Type Selectors

This is the Ultimate Homemade Konafa Recipe

November 18, 2024
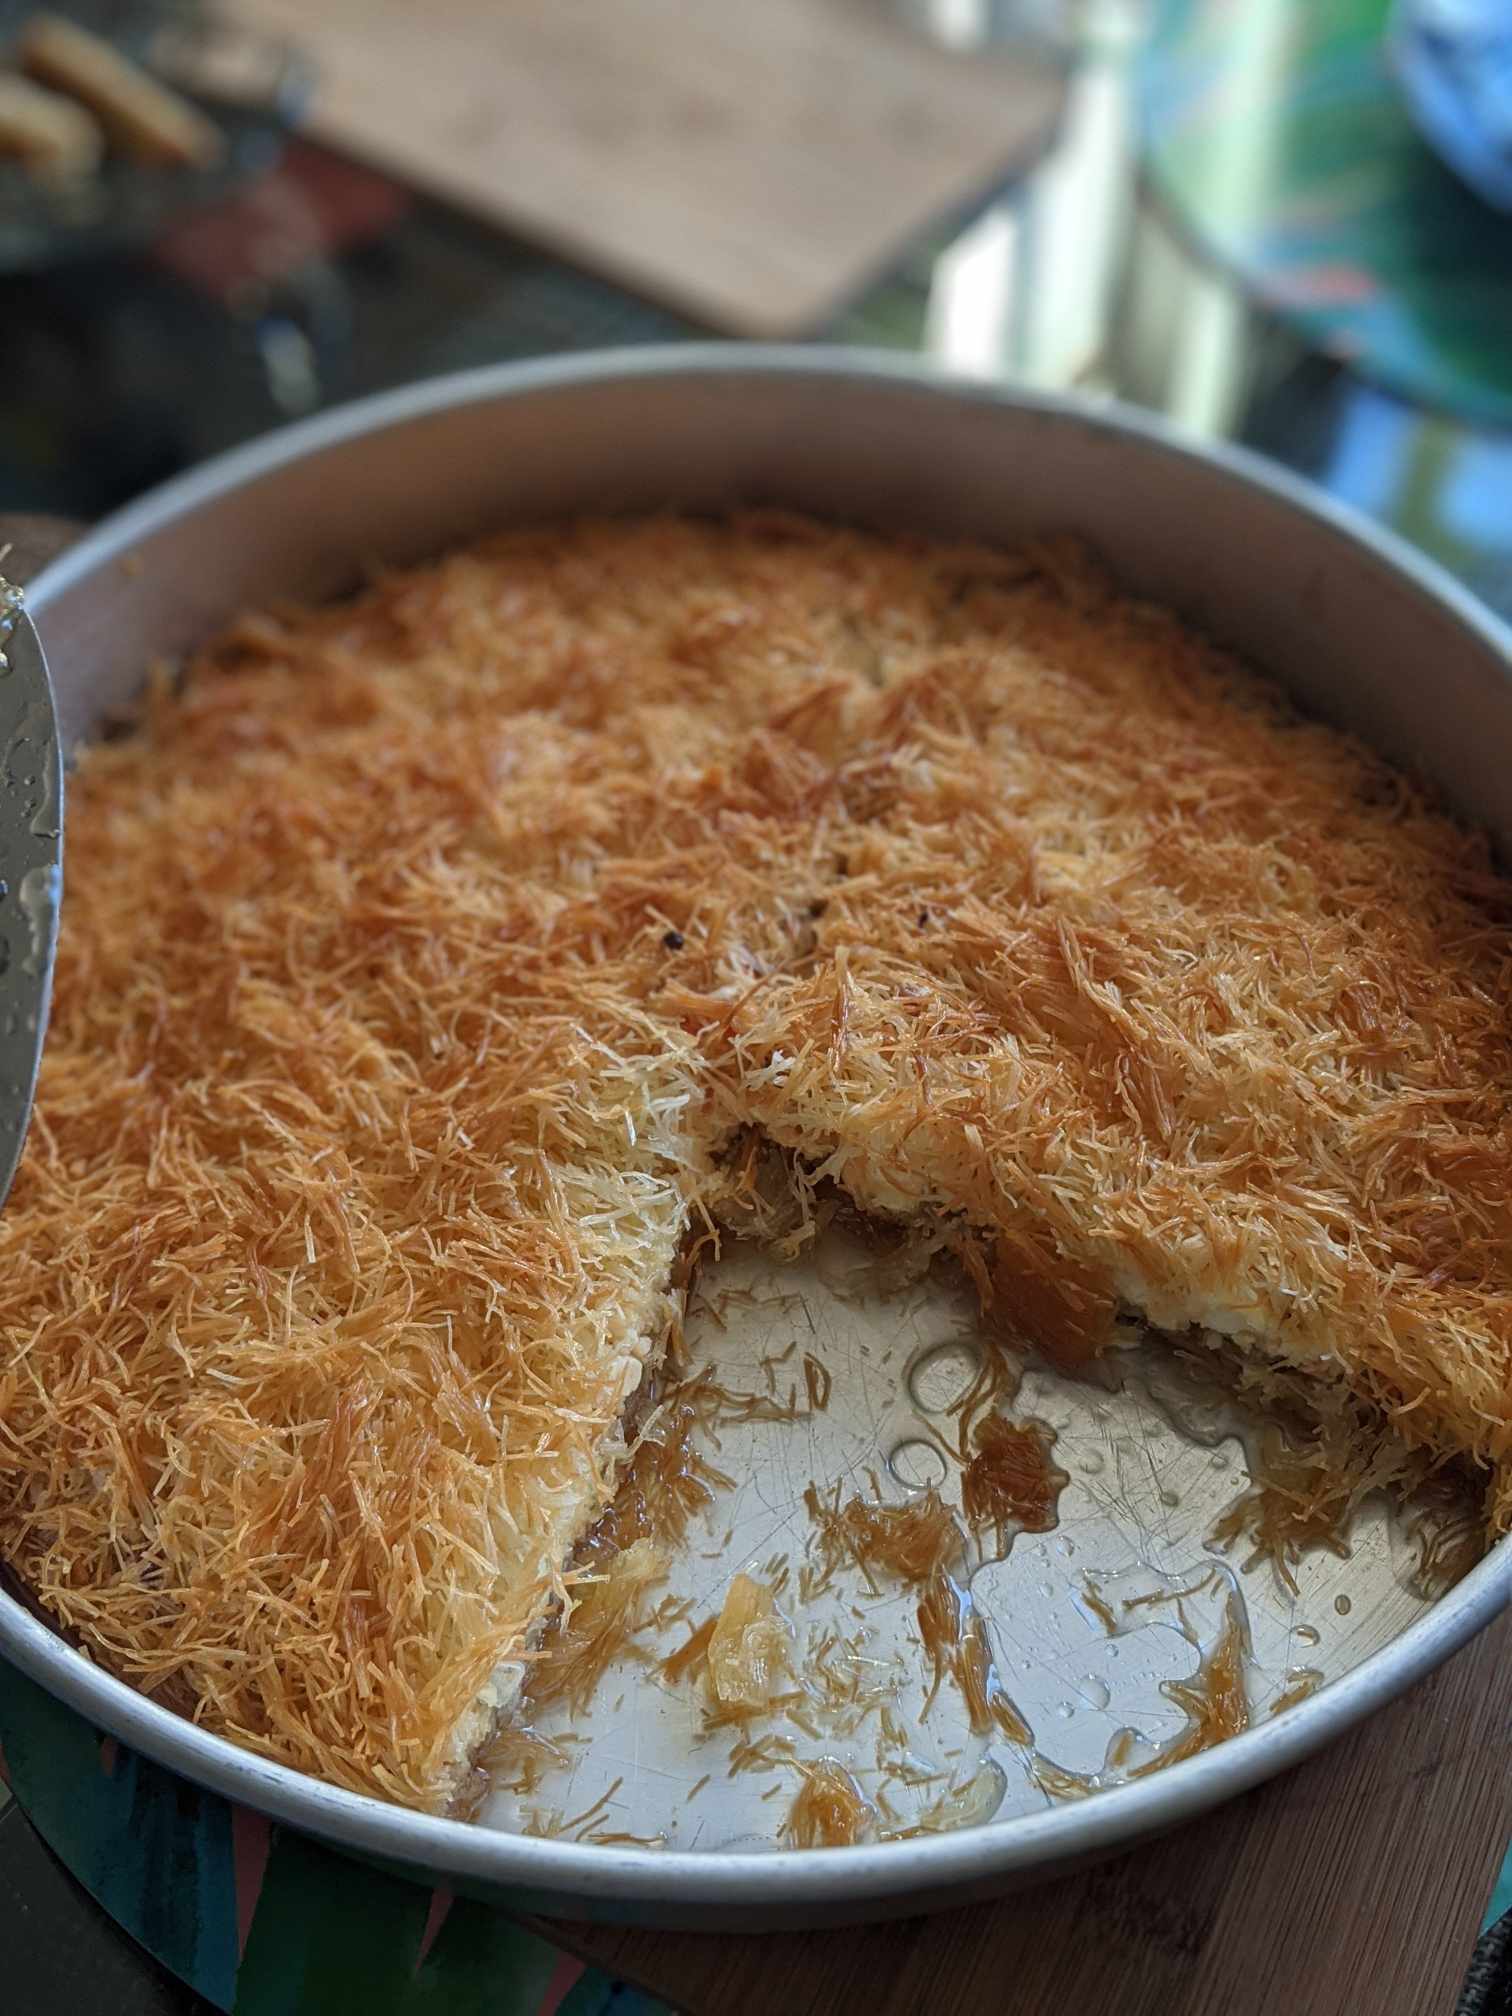
Konafa with Mastic Mahalabiya filling Credit: Egyptian Streets

A symphony of flavors and textures, this konafa with mastic mahalabiya is unlike anything you will find at your local bakery – a recipe steeped in tradition yet brimming with creativity. 

It is a special family creation by Omneya “Minnie” Negm, featured in her now-retired cookbook, Minnie’s Taste of Mediterranean Delight. Growing up in Egypt, Minnie, now in her 60s, was inspired by her family’s love of food and the vibrant culinary traditions surrounding her. When she was younger, she dreamed up this unique twist on the classic konafa, blending it with another iconic dessert, mahalabiya, to create a dish that is as indulgent as it is unforgettable.

In Egypt and across the Middle East, konafa (also spelled knafeh and kunafa) is a dessert that holds a cherished place at celebratory tables, traditionally filled with nuts, clotted cream, or cheese. Minnie’s version, however, takes it to the next level, marrying two beloved desserts into one decadent creation. This is a recipe you’ll rarely see being made at home, and you’re unlikely to find it sold anywhere.

Minnie’s Taste of Mediterranean Delight was more than just a cookbook – it was a labor of love created to support disadvantaged families in Egypt. With all proceeds going to charity, the cookbook provided not only cherished recipes but also hope and sustenance to impoverished communities. Now, Minnie is sharing her legacy with Egyptian Streets, inviting readers to experience her much-loved family creations.

If you have been searching for a dessert that combines the comforting warmth of tradition with the thrill of something new, this konafa recipe is calling your name. When you prepare this konafa with mahalabiya (specifically ‘mastic mahalabiya’), you’re not just making a dessert – you’re savoring an innovative twist on a classic and indulging in a slice of Egyptian history. Each bite carries the richness of tradition, the joy of creativity, and the generosity of a cookbook that truly made a difference.

Make sure to come back each week for more recipes by Minnie!

Konafa with Mastic Mahalabiya straight out of the oven. Credit: Egyptian Streets

Konafa with Mastic Mahalabiya Recipe

Serves: 6-8

Ingredients

For the Konafa:

  • 500 grams konafa dough (sometimes sold as kataifi pastry)
  • 250 grams butter (melted)
  • Mastic Mahalabiya (see recipe below)

For the Syrup:

  • 2 cups sugar
  • 1 cup water
  • ½ lemon

For the Mahalabiya:

  • 2 cups milk
  • ½ cup thickened or whipping cream
  • 1 cup sugar
  • 4 tbsp cornflour
  • 1 tsp vanilla sugar and two crushed mastics (Note: if you are not a fan of mastic, you can drop the mastic and just use vanilla sugar with no changes to the amount)

Directions

Prepare the Syrup:

  1. In a saucepan, combine the sugar, water, and lemon.
  2. Boil on medium heat until the syrup slightly thickens.
  3. Allow the syrup to cool, then refrigerate for 1-2 hours.

Prepare the Mahalabiya:

    1. In a pot, bring the milk and sugar to a boil over medium heat.
    2. Dissolve the cornflour in ¼ cup milk or water. Gradually stir it into the boiling mixture.
    3. Add the cream and vanilla, stirring continuously until the mixture thickens. Remove from heat and set aside.
  • Note: If you have made too much mahalabiya, you can pour the remainder in small bowls, refrigerate it for two hours and eat it as a creamy milk pudding on its own!

Assemble the Konafa:

  1. Preheat your oven to 160°C (320°F).
  2. Break the konafa dough into small pieces and place in a large bowl.
  3. Pour the melted butter over the konafa dough and mix thoroughly using your hands to ensure even coating.
  4. Spread half of the konafa dough evenly on the bottom of a 24-26 cm round baking tray, pressing firmly to create a compact layer.
  5. Pour the hot mahalabiya over the base, leaving a 2 cm gap around the edges of the tray.
  6. Cover the mahalabiya with the remaining konafa dough, starting from the edges and working towards the center. Gently press down to ensure even coverage. Note: If you have ended up with too much konafa dough, only use the amount needed to evenly cover the top of the mahalabiya.
  7. Bake for 25-30 minutes or until the top is golden brown.

Finish and Serve:

  1. Remove the konafa from the oven. Using a large spoon, evenly pour the cooled sugar syrup over the hot konafa to taste (remember, you can always add more). If you have any leftover sugar syrup, you can store it in the fridge.
  2. (Optional) Garnish with crushed pistachios.
  3. Serve hot, sliced into triangles.
  4. Tip: If you want a more ‘picturesque’ presentation of the konafa, you can carefully flip the konafa onto a serving tray (see photo above).
Two konafas are better than one. Credit: Egyptian Streets

Storage Tip

If the quantity is too large, you can divide the prepared konafa into two smaller baking trays. Wrap tightly and freeze for up to three months. This makes it a perfect choice for entertaining – you can bake one tray now and save another for a future celebration.

Enjoy your delicious, homemade konafa!

A slice of heaven? Credit: Egyptian Streets

Comments (0)